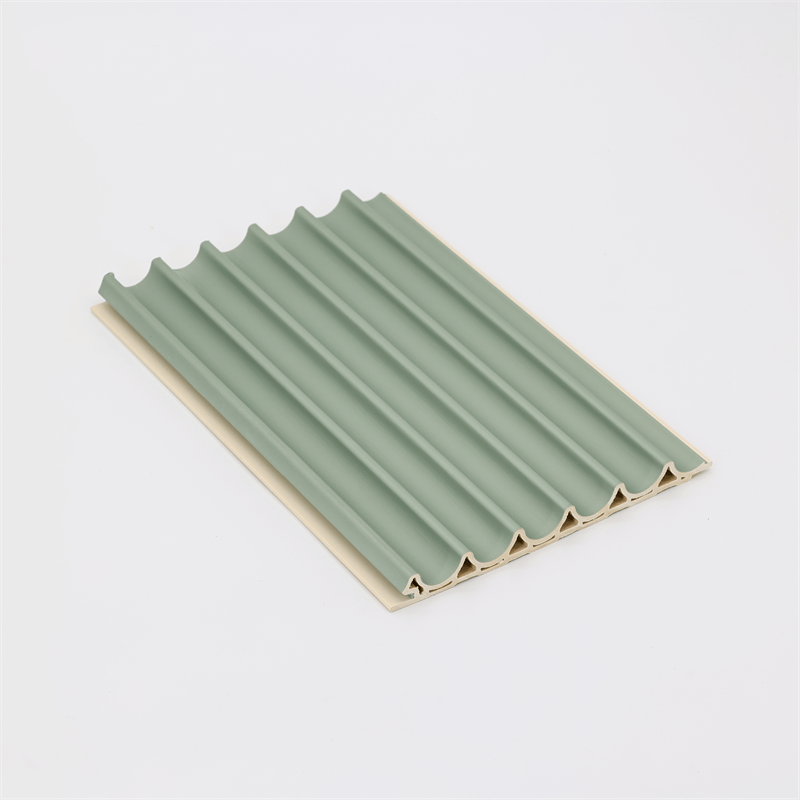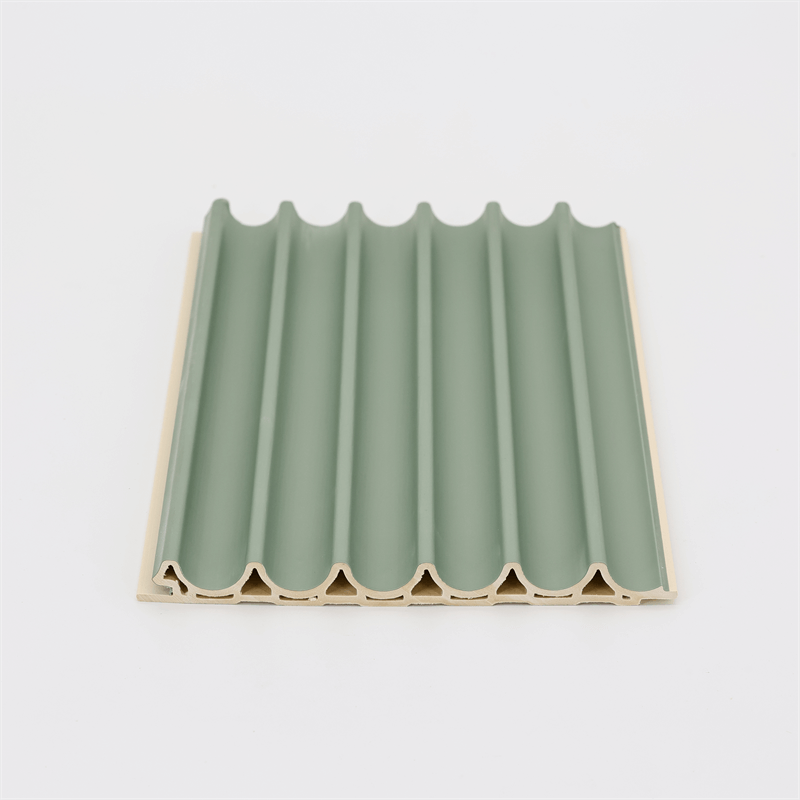
Wood-Plastic Composite (WPC) fluted panels have become a popular choice for interior and exterior applications due to their natural aesthetics, durability, and eco-friendly composition.
While architects and designers appreciate their versatility, ease of installation is also a significant advantage.
Whether you are a professional contractor or a DIY enthusiast, this step-by-step guide will walk you through the installation process of WPC fluted panels, ensuring a seamless and successful installation.
Pre-Installation Preparation
Before diving into the installation process, proper preparation is crucial to ensure a smooth workflow and excellent results.
Here are the essential steps for pre-installation preparation:
WPC fluted panels are sensitive to temperature and humidity changes.
To avoid potential issues like expansion or contraction after installation, acclimatize the panels to the environment where they will be installed.
Place the panels in the installation area for at least 48 hours before beginning the installation.
Inspect the surface where the panels will be installed.
Ensure that the surface is clean, dry, and free from any debris or contaminants that could affect adhesion.
If installing on walls, make sure they are flat and even to achieve a seamless finish.
Measure the installation area accurately, taking into account any corners, edges, or obstacles that may require additional cutting and customization.
Plan the layout of the panels to achieve a balanced and visually pleasing result.
It’s a good idea to start from the center and work your way out to the edges for symmetrical installations.
To ensure a successful installation, gather all the necessary tools and materials.
Typical tools needed for WPC fluted panel installation include a saw (circular saw or jigsaw), measuring tape, level,
adhesive or fasteners (depending on the installation method), and safety equipment such as gloves and eye protection.

Installation Methods
There are two primary installation methods for WPC fluted panels: adhesive installation and mechanical fastening installation.
Choose the method that best suits your project’s needs and the recommendations of the manufacturer.
Adhesive installation offers a clean and seamless finish, as it eliminates the need for visible fasteners.
Follow these steps for adhesive installation:
Using a suitable adhesive recommended by the manufacturer, apply a thin and even layer on the back of the WPC fluted panel.
Make sure to cover the entire surface to ensure proper adhesion.
Carefully position the panel on the prepared surface, aligning it with the layout plan.
Press firmly to ensure proper contact between the panel and the adhesive.
Use a level to ensure the panel is straight and aligned with adjacent panels.
Make any adjustments as needed to achieve a seamless installation.
Repeat the adhesive installation process for each subsequent panel until the entire installation area is covered.
Mechanical fastening installation involves using screws or nails to secure the WPC fluted panels to the surface.
This method provides a secure and stable installation. Here’s how to do it:
Pre-drill holes into the WPC fluted panel, spacing them according to the manufacturer’s recommendations.
Pre-drilling helps prevent the panels from splitting or cracking during installation.
Position the pre-drilled panel on the prepared surface, aligning it with the layout plan.
Using appropriate screws or nails, fasten the panel to the surface through the pre-drilled holes.
Make sure the fasteners are flush with the surface to achieve a smooth finish.
Repeat the mechanical fastening installation process for each subsequent panel until the entire installation area is covered.

Cutting and Customization
During installation, you may encounter areas that require cutting and customization to fit the panels precisely.
Follow these steps for cutting and customization:
Measure the area that needs to be cut on the WPC fluted panel.
Use a pencil or chalk to mark the cutting line clearly.
Choose the appropriate saw (circular saw or jigsaw) based on the thickness of the WPC fluted panel.
A circular saw is ideal for straight cuts, while a jigsaw allows for more intricate and curved cuts.
Using the marked line as a guide, cut the WPC fluted panel carefully.
Take your time to ensure precise and clean cuts.
After cutting the panel, test the fit to ensure it aligns perfectly with the installation area.
Make any necessary adjustments for a seamless fit.
Post-Installation Inspection and Maintenance
Once the WPC fluted panels are installed, perform a thorough post-installation inspection.
Check for any gaps, unevenness, or imperfections in the installation.
Make any necessary touch-ups or corrections to achieve a flawless finish.
WPC fluted panels require minimal maintenance, but regular cleaning is essential to keep them looking their best.
Use a mild detergent and water to clean the panels periodically, and avoid using harsh chemicals or abrasive materials that may damage the surface.
Installing WPC fluted panels is a straightforward process that can be accomplished by both professionals and DIY enthusiasts.
Proper preparation, choosing the right installation method, and precise cutting and customization are essential for achieving a seamless and visually pleasing installation.
By following this step-by-step guide, architects, designers, and homeowners can confidently incorporate WPC fluted panels into their construction projects, c
reating spaces that boast natural aesthetics, durability, and sustainability.
With installation made easy, WPC fluted panels offer an innovative and versatile solution for modern construction projects.
